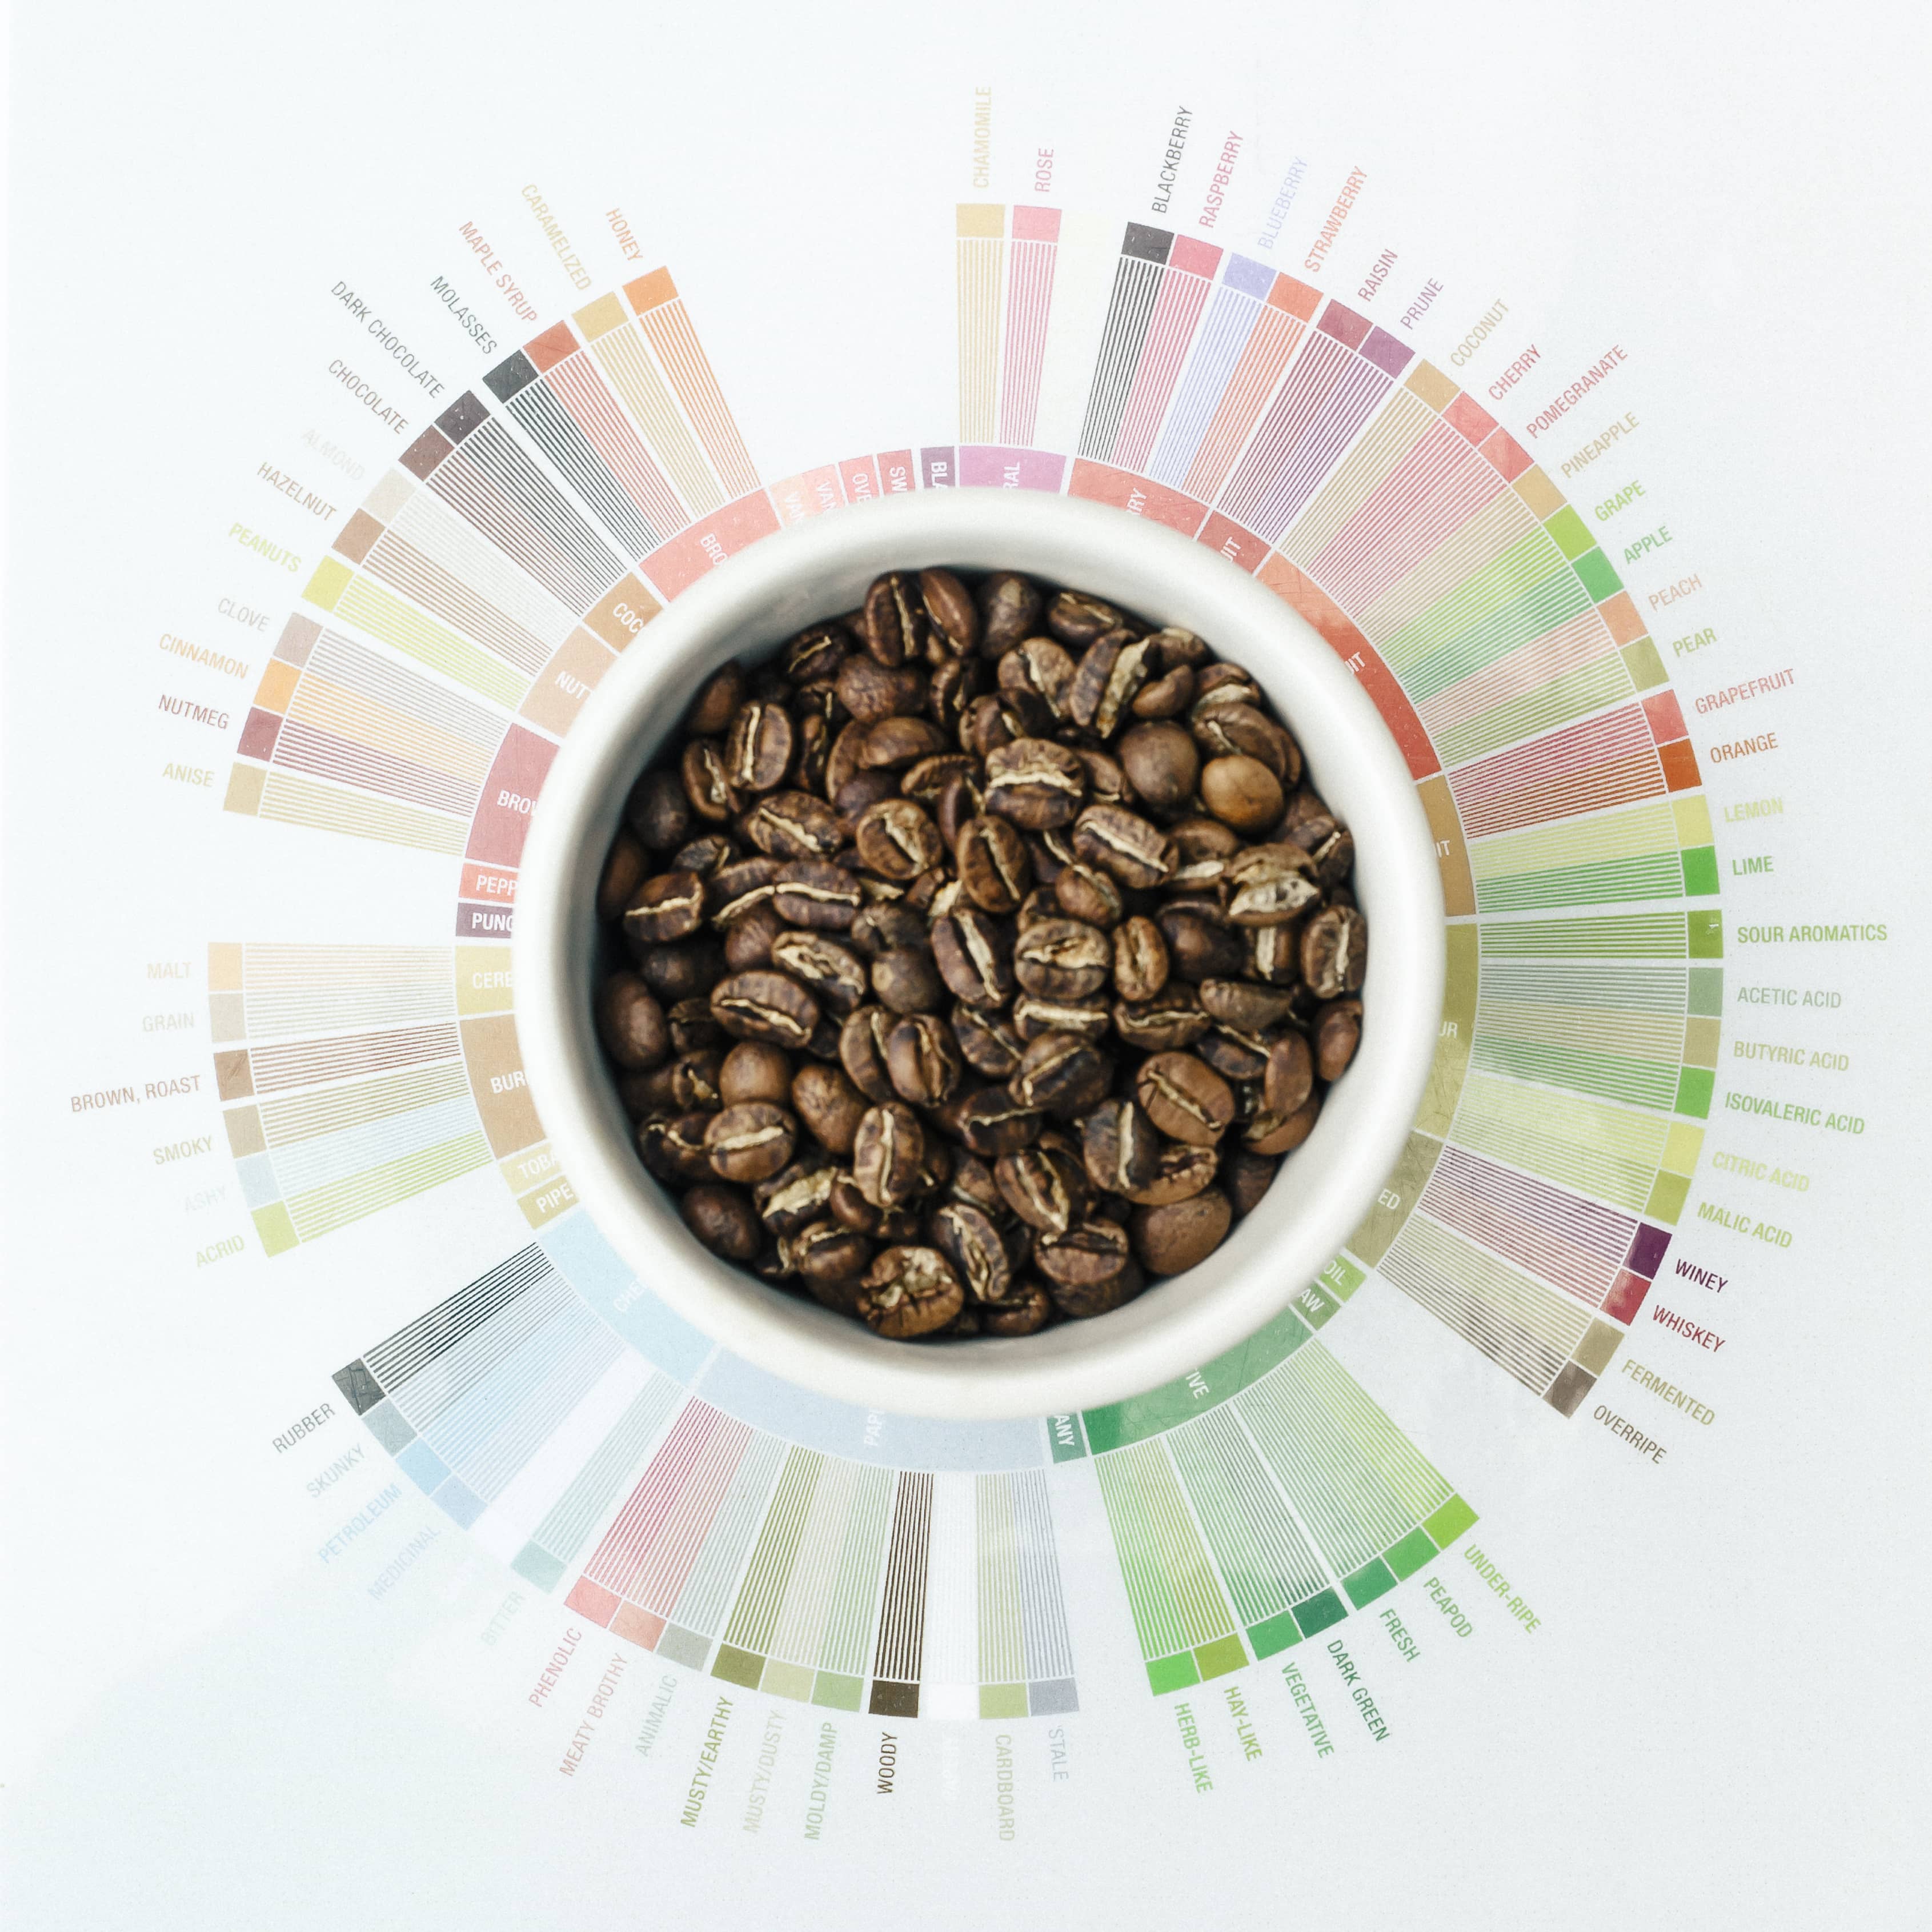
Before coffee makes it to local cafes or on the shelves of grocery stores, roasters and quality control specialists use a method called cupping to tune in on the best roast profiles. This process ensures the coffee will develop just right, and you won’t end up with any funky flavors or potential defects.
While cupping is essential for baristas, roasters, and other coffee professionals, anyone looking for a unique coffee experience can try cupping too. At home, cupping can help you fine-tune the perfect flavor from your beans, and ensure that every brew is exquisite. We’ve got everything you need to know about how to cup coffee below.
What You’ll Need for Cupping
Before you begin, you’ll want to make sure you gather the right supplies, such as:
- A scale for measuring coffee by weight
- Grinder
- Different types of coffee (12 grams of each). You can grab a bag of our Marble City Blend and single origin coffee if needed!
- Two Cupping bowls per every type of coffee (Measuring capacity should be 160ml to 200ml)
- Timer
- A couple of rinse cups filled with hot water
- Cupping spoons (Large soup spoons work just as well)
- Glass or mug to hold cupping spoons
- Bowl or glass to hold used coffee grounds
- Hot water
A Step-by-Step Guide for Cupping
Now that you’ve got your supplies, here are the step-by-step instructions you’ll need to follow throughout the cupping process.
Step 1: Grind Your Coffee on a Coarse Setting
To begin, you’ll want to grind 2 grams of your first coffee to “prime” your grinder. Once that’s gone through, you can grind your 12 grams of coffee. Be sure to use a coarse grind setting once you do this so that your ground coffee comes out looking like coarse sea salt rather than a fine powder.
Then, you can follow this process for the rest of your coffee types - start with 2 grams, and then run the 12 grams through the grinder. While it might seem odd to start with only 2 grams each time, this ensures that you’re getting out the leftover residue from other coffees that might impede the flavor.
Step 2: Put Your Ground Coffee into the Cupping Bowls
Go ahead and put your ground coffee into your cupping bowls. If you’re worried about forgetting which roast is which, we suggest labeling your cupping bowls beforehand.
Before you head to the next step, take a whiff of each coffee’s dry aroma. One roast might smell nutty or fruity, while another is strong and smoky. While it’s usually a subtle difference, each roast should have its own unique aroma.
Step 3: Heat Your Water
Next, you’ll want to begin heating your water until it’s around 200℉, and then it’s ready for pouring.
Step 4: Start the Timer and Pour Your Water
At this point, time is an important factor, so you’ll want to start the timer for four minutes once the hot water is ready. Then, pour 185 grams of hot water into each cupping bowl.
Step 5: Assess Each Coffee’s Wet Aroma
Once you’re done pouring, take another whiff of each coffee. You’ll probably notice that the coffee’s wet aroma contains subtle differences from its dry aroma.
Step 6: Break the Crust on the Coffee
After you’ve assessed the wet aroma, let the coffee and the water naturally mix until your timer beeps at four minutes. Even in just a few minutes, the ground beans and the water should have formed a “crust” on the top of the cupping bowls. Gently, using your cupping spoon, break the crust in each bowl.
Tip: If you’re only using one cupping spoon, you’ll want to wash it after breaking the crust in each bowl. Otherwise, you could accidentally end up mixing flavors and ending up with something funky. Or, if you have enough cupping spoons, dedicate a spoon for each bowl.
Step 7: Remove the Crust
After each crust is broken, remove the crust on the surface of your coffee by scooping it off with your spoon, and put them in a separate glass.
Step 8: Slurp the Coffee
Keep in mind that you don’t want to just swallow the coffee. The best way to get the full range of its flavors is actually to slurp it. This way, the coffee is spreading over your tongue, and you’re getting all those flavor notes.
How does each roast taste? Is there a particular blend that you enjoy more than others? These are the type of questions you’ll want to think about as you slurp away.
Once again, make sure you rinse your cupping spoon in between each roast, or use a different spoon for each one.
Get to Cupping!
You don’t have to rely on coffee shops for cupping coffee - doing it at home is a great way to find the perfect roast, and even expand your coffee palate! If you’re doing it with a friend, don’t be surprised if they pick up different flavor notes than you since every palate is different.
The most important thing is to trust your own nose (and taste buds), and don’t forget to take notes about each coffee’s aroma and flavor!
---
To get stocked up for cupping, check out our full collection of amazing coffee!


